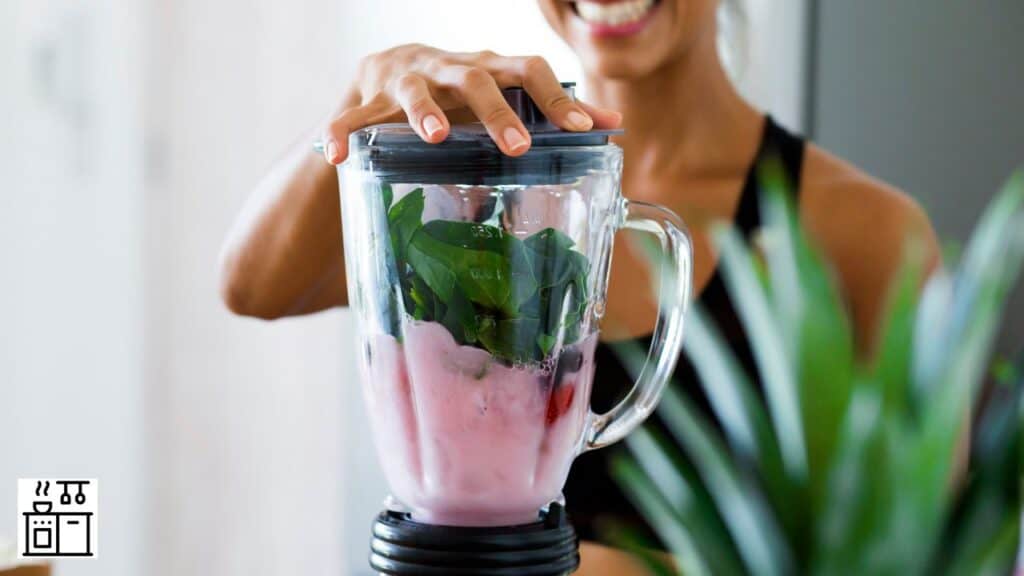
A blender is a kitchen appliance to blend, puree, and emulsify ingredients. It has a container made of glass or plastic with sharp blades and a lid to hold the ingredients.
Blenders also have a powerful motor that turns the blades. You can make anything from smoothies and baby food to protein drinks or soups in a blender.
Let’s look at this handy device in closer detail.
Main Parts of A Blender
To understand how a blender works, we should first look at the key components of this appliance.
A blender has the following parts.
1. Motor
The motor is the electrical part that powers a blender. The stronger the motor, the more efficient the blending process.
A blender’s motor is placed within the casing at the base. This casing will also have controls to adjust the speed of the blending operation.
The motor starts when you push the start button or turn the knob to the start position. The blades instantly start moving.
This circular motion of the blades creates a vortex or a spiral movement in the fluid. This helps the ingredients to combine thoroughly.
2. Blades
The blades of a blender are made of heavy-duty stainless steel. They are sharp and durable.
There may be arranged in different configurations depending on the make and model of the blender.
But the most common configuration has four blades arranged in different planes and at different angles.
This design allows more contact between the ingredients and the blades for better blending. Depending on the model, the blades may be fixed or detachable.
3. Container
The container is a cylindrical jar that holds the ingredients to be blended or pureed. It can be made of glass, stainless steel, or high-quality, durable plastic.
Glass and plastic containers allow you to see the ingredients during the blending process.
Stainless steel containers don’t offer this convenience. But stainless steel is usually the most durable.
The glass needs careful handling, while plastic can develop scratches or absorb odors from the food.
The capacity of a blender will vary according to the make. It will typically be 1 to 2 liters.
But the design will enable the formation of a vortex that pulls the ingredients toward the blades, converting them into a puree.
4. Lid
The lid helps to keep the ingredients inside the jar or container. It forms an airtight seal and sits flush against the mouth of the blender.
The lid usually has a detachable piece called a cap. You can remove this to add ingredients to the blender during operation.
Since we are now familiar with the different parts of a blender, let’s look at how it operates.
Step-by-Step Operation of A Blender
A blender is an uncomplicated device. You can easily use it for a variety of tasks by following these steps.
1. Set up The Blender
Always place the blender on a flat and stable surface. The kitchen counter is a good place to keep it. Plug it into the power socket.
2. Add the Ingredients for Blending
The next step is to fill the jar with the ingredients for blending. Blenders need a liquid base for proper blending. So ensure that you add a liquid first.
Apart from the liquid, you can also add solids, powders, and other ingredients to blend. A blender can also crush ice to prepare chilled drinks and beverages. So you can add ice to the jar as well.
The maximum limit will usually be indicated on the blender jar. Avoid overfilling the container beyond this limit as it can spill over.
Overfilling the blender will also prevent the ingredients from rotating smoothly. It can heat the motor and increase its chances of getting damaged.
3. Lock the Lid in Place

It’s essential to place the lid on the top of the blender before operating the blender. Without the lid in place, the contents will splatter and get thrown around in all possible directions.
The lids of some blenders have clasps on the sides to affix them to the jar. In other models, the lid comes with a gasket.
It sits flush against the jar forming an airtight seal when you press the lid down.
4. Power on The Motor
The controls of the blender are at the base. It may either be a knob that you can turn. Modern blender models also have digital or button controls.
Read the manufacturer’s instructions to understand how to correctly operate the blender. If there are multiple selection options, choose the speed you prefer.
Some blenders have a stop button to end the blending action. In other cases, you may have to turn the control knob back to the initial position to stop the operation.
We recommend starting the blender with a low speed and gradually increasing it as needed. This will help you have more control over the blending process.
5. Wait for The Ingredients to Blend Well
When the motor is on, the blades begin rotating. As they rotate, they chop and mix the contents of the jar.
The circular motion also creates a spiral movement in the fluid. It forms a vortex in the center of the jar.
All the ingredients are pulled toward the center of the jar, where they are chopped and blended with the rest of the contents.
6. Add Ingredients Through the Hole in The Lid
The lid of the blender will usually have a small detachable cap.
If you wish to add ingredients to the jar during the blending process, remove the cap and add the ingredients through the hole. They will fall to the center and mix with the rest of the ingredients in the jar.
The continuous rotating motion ensures that the ingredients combine uniformly, even when you add them later during the blending process.
7. Stop the Blender when The Ingredients Are Pureed
If it’s a glass jar, you can easily see the contents of a blender. Observe the contents to see if all the ingredients have blended into a smooth mixture.
Stop the blender at this stage by pressing the stop button or returning the control knob to the initial position.
For stainless steel blenders, you can’t see the contents from the outside. Hence, you should open the lid during the blending process to check on the contents.
8. Clean the Blender
After blending the ingredients, transfer the contents of the jar to the serving container. Then, proceed with cleaning it thoroughly.
Most blender jars must be washed by hand. Handwashing will help the blades stay sharp for longer.
Wash the blender jar with warm soapy water and rinse well to get rid of any residue. Then, set it aside to dry.
For stubborn food residues and discoloration, add a few drops of dishwashing liquid to the blender jar with a cup of water, and run the blender for a few seconds. It will help to dislodge the stuck ingredients.
After removing the blender jar, disconnect the blender from the power supply. You can wipe the motor casing with a damp cloth to get rid of any spills or dust on the surface.
If the blender has a digital display, avoid wiping it with a wet cloth.
Dry the blender thoroughly before storing it.