
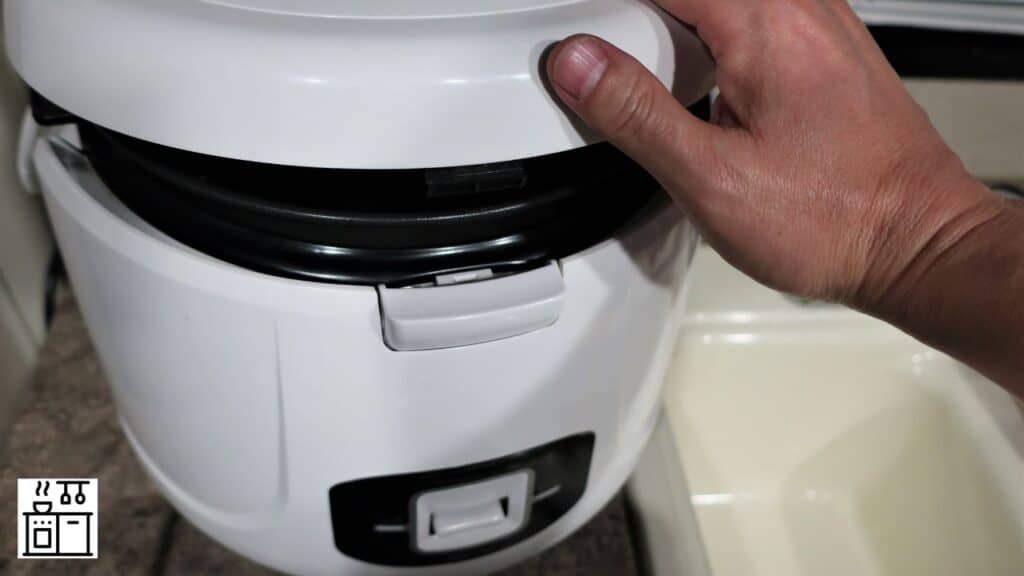
Rice cookers are mainly used to make rice. Some models can also steam food or cook other grains and dishes, using the methods in their instructions.
Let us look at how to use a rice cooker to prepare rice and the other things you can use this appliance for.
Steps to Make Rice Using a Rice Cooker
There are different types of rice cookers, like standard rice cookers, Micom rice cookers, induction rice cookers, and pressure rice cookers in the market.
Regardless of the model, all these appliances primarily cook rice.
The steps below explain the general process. Use your model’s instructions for its measurements, settings and any resting stage, because these details differ between cookers.
1. Choose the Right Rice Cooker
The main factor when choosing a rice cooker is the quantity of rice you want to cook.
Check whether the advertised capacity means cooked or uncooked rice, and which measuring cup the manufacturer uses. Follow the limit for the grain you are cooking; a model may allow a smaller batch of brown rice than white rice.
The other factor to consider is how quickly you will consume the rice.
If you want to hold cooked rice before serving, check the model’s Keep Warm instructions and time limit. Step 8 below explains the temperature needed for safe hot holding.
Some advanced models even have a “delay” function that allows you to program the appliance to start at a chosen time.
2. Measure the Rice
Rice cookers usually come with a measuring cup. We recommend using this cup to accurately measure the amount of rice and water.
If the cup is missing, use an equivalent measure of the capacity specified in the manual. Using the same larger cup for rice and water does not make the pot’s numbered lines or maximum batch size match that cup.
Some rice cooker bowls will also have indications on the inside. This usually indicates the water level for a certain amount of rice.
Check the instruction manual to get the measurements right.
3. Rinse the Rice
Rice is a starchy grain. If you cook it without rinsing, the starch will make the grains stick.
Apart from removing excess starch, rinsing the rice also helps to get rid of other impurities.
To rinse rice properly, place it in a mesh container. Run it underwater till the water runs clear.
You can also swirl the grains with your hand to remove the starch better.
4. Measure and Add Water
Different types of rice need different quantities of water to cook.
Follow the instruction manual to find out how much water is recommended for the rice you intend to cook.
Depending on the variety of rice, you may have to add 1 to 2 cups of water per cup of rice.
Generally, white rice needs less water than brown rice. Similarly, short-grain rice needs less water than long-grain varieties.
Use only the water lines intended for that type of rice and measured amount. If the manual gives a separate chart instead, follow that chart.
For example, the Aroma ARC-757SG manual limits its pot’s water lines to white rice and gives separate directions for brown rice. A different model may use different markings.
Further Reading: Rice-To-Water Ratio for A Rice Cooker
5. Turn the Rice Cooker On
After placing the rice and water in the pot, you can turn the rice cooker on.
Close the lid and plug in the power. Some rice cookers have different settings for white rice or brown rice.
Choose the appropriate setting for the grain you are cooking. The rice cooker will continue to operate till no water remains.
Once the grains absorb all the water, it will either shut off or switch to “keep warm” mode.
6. Follow the Cooker’s Resting Instructions
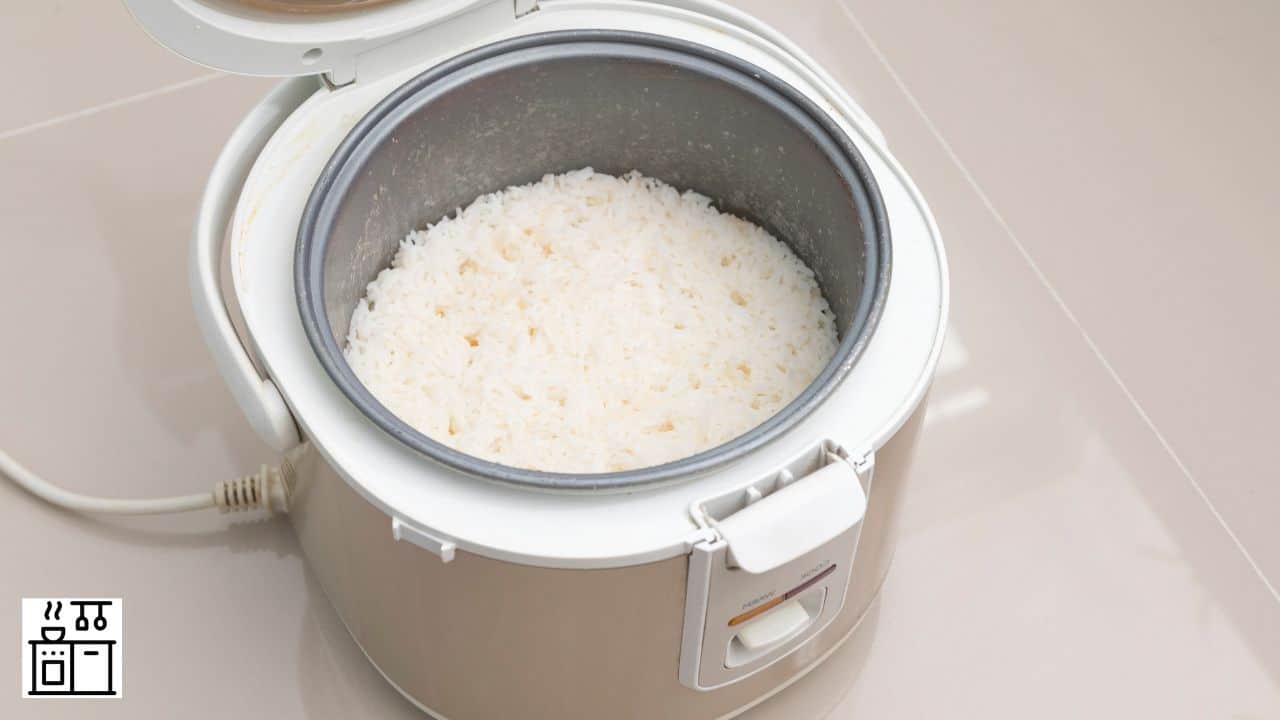
Follow the resting instructions for your cooker and rice. Some methods call for a separate wait, while others are ready for fluffing when the cooking cycle ends.
For example, Zojirushi’s usage guide advises fluffing as soon as cooking finishes. Do not automatically add another resting period after every cooker switches to Keep Warm.
7. Fluff the Rice
Once the cycle and any required rest are complete, fluff the rice with the supplied rice paddle or a utensil that the manual approves for the pot. Avoid metal utensils on nonstick surfaces.
Just turn the rice and break any clumps that exist. It will help to separate the grains and make the rice soft and fluffy.
8. Serve, Keep Hot, or Refrigerate Promptly
If you aren’t eating the rice immediately, keep it hot at 140°F (60°C) or above, or refrigerate it promptly. A Keep Warm setting only provides safe hot holding if the rice stays at that temperature. Check the cooker’s instructions and use a food thermometer to verify it. USDA explains safe hot holding.
To store leftovers, divide the rice into shallow containers and put them in a refrigerator at 40°F (4°C) or below, aiming to refrigerate within one hour. You don’t need to wait for the rice to reach room temperature.
Use refrigerated rice within three days and, if reheating, heat it throughout to 165°F (74°C). Reheating is not a remedy for unsafe storage. See the University of Wisconsin’s guidance on cooling and reheating rice.
Further Reading: Can You Keep Rice Cooker on The Entire Day?
Other Ways to Use Rice Cookers
Before using the cooker for another food, find a manufacturer-supported method for your model. The recipe may need a different liquid amount, batch limit, accessory, lid position or program from ordinary rice.
1. Quinoa
If your cooker supports quinoa, use its specified measure, water amount, batch limit and setting. Do not automatically use twice as much water or assume the ordinary rice program is correct.
For example, Zojirushi’s FAQ specifies the Quick setting and 1¼ cups of water per cup of quinoa for applicable models, excluding its conventional cookers. Follow your own model’s instructions rather than transferring this example to another cooker.
2. Oatmeal
Use the oat type, measured liquid, batch limit, setting and lid position in the method for your cooker. A preference for thicker or thinner oatmeal does not remove those limits.
For example, Aroma’s 6-cup cooking guide uses a lid-off Cook method with different measured water quantities for rolled and steel-cut oats. Its ARC-5104SBC manual instead uses an Oatmeal program with the lid closed.
Do not assume that any ordinary rice setting is suitable. The wrong menu or too much water or food can cause overflow, so follow the manufacturer’s instructions and any requirement to stay with the cooker.
Milk is not an automatic substitute for water. Use it only when the manufacturer’s recipe for your cooker allows it; Tiger’s support guidance warns that milk can escape through the steam vent.
3. Steamed Vegetables
If your cooker supports steaming, use the compatible basket or tray and follow its instructions for water, food quantity and timing. Cooking rice at the same time may reduce the amount of rice you can use.
For example, Aroma’s 6-cup guide limits simultaneous steaming to two of its supplied cups of uncooked white rice. It also warns that dense foods may need longer than the rice cycle, while delicate vegetables can overcook.
Check the food’s doneness using its own cooking instructions. The rice cycle finishing does not establish that everything in the steam tray is fully cooked. Use heat protection when handling the hot tray.
4. Custards and Puddings
Some cookers have manufacturer recipes for desserts. Follow the recipe’s preparation steps, quantities, cooking vessel and named program rather than mixing any custard in the pot and switching on the rice cycle.
For example, Tiger’s bread pudding recipe uses milk, a bread-soaking step, a prepared inner pot and the Slow Cook program.
For custards and other dishes containing eggs, the FDA recommends cooking to 160°F (about 71°C) and checking with a food thermometer. A timer or automatic switch is not a temperature measurement.
5. Pasta
Use a pasta method that the manufacturer supports for your cooker, including its water amount, batch size, lid position and stopping instructions. Do not assume that the lid should always stay closed.
The Aroma ARC-560 manual, for example, uses a Pasta program, heats the water first and requires the lid to be left off after adding pasta. Other recipes may cook pasta by absorbing the liquid, so draining is recipe-dependent.
Follow the model’s instructions for checking the food and ending the program, including any lid or pressure-release requirements.
6. Eggs
Use an egg method supported for your cooker, with the specified water, accessory, program and timing instructions. Tiger’s boiled-egg recipe, for example, covers the eggs with water and uses Slow Cook rather than an unspecified rice-cycle steaming method.
The FDA’s egg-safety guidance recommends cooking shell eggs until both the white and yolk are firm. Do not rely on a five-to-seven-minute promise or a cooker switching modes as the only doneness check.
